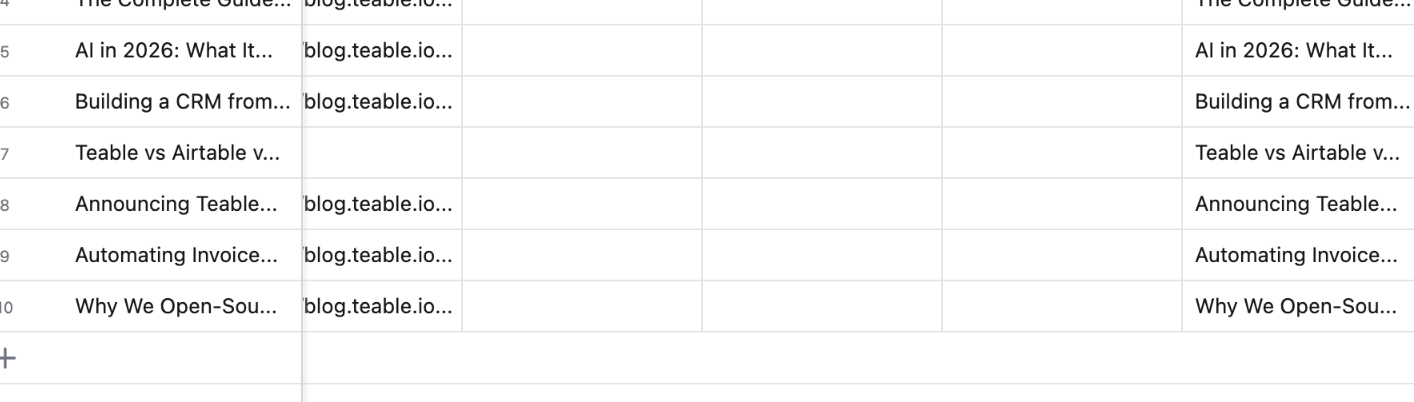
Building a CRM from Scratch with Teable
A CRM doesn't have to cost thousands of dollars or take months to implement. In this tutorial, we'll build a fully functional CRM system in Teable — complete with contacts, companies, deals, and automated follow-ups.
Time required: ~45 minutes Skill level: Beginner
What We're Building
Our CRM will include:
Step 1: Create the Contacts Table
Start by creating a new table called Contacts with these fields:
| Field Name | Type | Notes |
|---|---|---|
| Full Name | Text | Primary field |
| Text | ||
| Phone | Text | |
| Job Title | Text | |
| Company | Link | Links to Companies table |
| Status | Single Select | Lead, Qualified, Customer, Churned |
| Source | Single Select | Website, Referral, LinkedIn, Event |
| Last Contacted | Date | |
| Notes | Long Text |
Step 2: Create the Companies Table
Next, create the Companies table:
| Field Name | Type | Notes |
|---|---|---|
| Company Name | Text | Primary field |
| Industry | Single Select | Tech, Finance, Healthcare, etc. |
| Size | Single Select | 1-10, 11-50, 51-200, 201-1000, 1000+ |
| Website | Text | |
| Contacts | Link | Back-link to Contacts |
| Total Deal Value | Rollup | Sum of linked deals |
Step 3: Create the Deals Table
The money table:
| Field Name | Type | Notes |
|---|---|---|
| Deal Name | Text | Primary field |
| Company | Link | Links to Companies |
| Contact | Link | Links to Contacts |
| Value | Number | Currency formatting |
| Stage | Single Select | Prospect → Qualified → Proposal → Negotiation → Closed Won / Lost |
| Close Date | Date | Expected close |
| Probability | Number | Percentage |
| Weighted Value | Formula | Value * Probability / 100 |
Step 4: Build the Pipeline View
Switch to Kanban View on the Deals table, grouped by Stage. This gives you a visual sales pipeline where you can drag deals between stages.
Customize the card to show:
Step 5: Add Automations
Automation 1: Follow-Up Reminder
Trigger: Record matches condition
  → Condition: Last Contacted > 7 days ago AND Status = "Qualified"
Action: Send email notification
  → To: Record owner
  → Subject: "Follow up with {Contact Name}"
  → Body: "It's been over a week since you last contacted {Name} at {Company}."
Automation 2: Deal Stage Notification
Trigger: Record updated
  → Watch field: Stage
Action: Send Slack message
  → Channel: #sales
  → Message: "🎯 {Deal Name} moved to {Stage} — Value: ${Value}"
Automation 3: New Lead Welcome Email
Trigger: Record created in Contacts
  → Condition: Source = "Website"
Action: Send email
  → To: {Contact Email}
  → Subject: "Welcome! Here's what's next"
  → Body: Personalized welcome template
Step 6: Create a Dashboard
Build a dashboard view with these widgets:
Bonus: Advanced Tips
1. Use Lookup fields to pull company info into the deals table 2. Conditional coloring to highlight deals closing this week 3. Form view for your website's "Contact Us" page — submissions go straight into the CRM
---
Wrapping Up
You now have a fully functional CRM that rivals tools costing $50+/user/month. The best part? You own the structure and can customize it endlessly as your sales process evolves.
Ready to try Teable?
Start organizing your data with the power of AI. Free for personal use.
Get Started Free